
As Pewdiepie termed it, "Glorious SSH"; Secure Shell (SSH) is a network protocol that enables a secure, encrypted communication over an untrusted network. It is most commonly used for remote shell access to a server or any other remote machine (that's what I'll talk about here). It also supports port forwarding or tunneling. If you are a software engineer, SSH is a tool you must learn to use well.
SSH has become such a crucial tool that it comes pre-installed with many Operating Systems. You will need a SSH client and a SSH server daemon to use SSH.
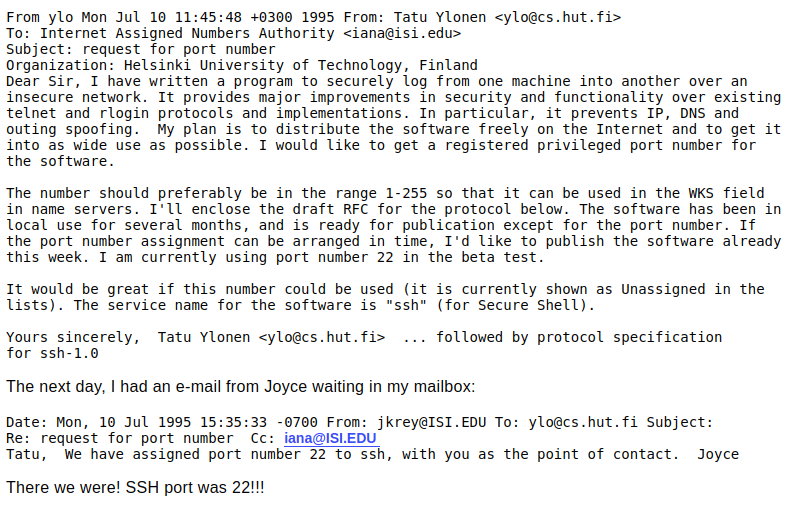
Here's a fun read about how SSH got port 22 assigned : Image
Installation :
If not already installed on your device, install the Openssh client and server using these instructions
Debian based system:
sudo apt update
sudo apt install openssh-server
sudo apt install openssh-client
Fedora/Red Hat based systems:
sudo dnf install openssh
sudo dnf install openssh-server
Arch btw:
sudo pacman -S openssh
MacOS:
brew install openssh
Add-WindowsCapability -Online -Name OpenSSH.Client~~~~0.0.1.0
Add-WindowsCapability -Online -Name OpenSSH.Server~~~~0.0.1.0
Check here for Microsoft's official guide
Usage:
The most used and basic command is :
ssh username@hostname
You can run command directly too, like this :
ssh username@hostname htop
Here, username is the name of the user on the machine you are trying to connect to and hostname is the DNS name or IP address of the host machine you're trying to connect to.
This may take some time on the first attempt but once the command is executed successfully, a message similar to this should appear on your terminal screen :
The authenticity of host '192.168.0.2 (192.168.0.2)' can't be established. ED25519 key fingerprint is SHA256:saVL7FlGT.... This key is not known by any other names. Are you sure you want to continue connecting (yes/no/[fingerprint])?
This message is shown when you are logging in for the first time. If you have accessed this host before, you shouldn't normally see this message again unless :
- the host's entry has been removed from your known_hosts file
- the server's SSH host keys were changed
- DNS or IP changed
- worst case - Someone is performing a Man-in-the-Middle Attack
Now enter 'yes' and the user's password (not yours) to complete authentication. You are now successfully logged in to the host. Now if you look into the .ssh directory on your local machine you'll see two files : known_hosts and known_hosts.old; The known_hosts file stores the host's (server's) public key, for each host you connect to. The known_hosts.old file is a backup of the known_hosts file, which is managed automatically and updated when ssh-keygen -R command is executed.
SSH uses Public Key Cryptography to increase security, you can generate a key pair -> send the public key to the server, then use private key to create a digital signature which is verified by the server, without transmitting the private key over the network. To use Public key authentication, we first need to generate a key pair using the ssh-keygen command. The private key should also be protected with a passphrase for better security.
ssh-keygen -f ~/.ssh/keyname
The above command generates a key pair with the specified keyname in the .ssh directory. The -f flag is used to specify the output filename amd the path for the key pair. You should then see output similar to this :
Generating public/private ed25519 key pair.
Enter passphrase (empty for no passphrase):
Enter your passphrase here. If you want to use some other cryptographic algorithm instead of the default ed25519, then you'd have to use the -t flag with the -b flag to set bits.
Now that we have generated the keys, make sure to back them up if they are for a server. Next, we need to copy the public key to the server. On the server, the public key will be stored in a file called authorized_keys in the .ssh directory in the home directory of your user (not root). For this, there is a command : ssh-copy-id
ssh-copy-id -i ~/.ssh/keyname user@host
This command will copy the public key (keyname.pub) to the server because we used the -i flag and the server's hostname.
Now that the key has been added you can access your server with the passphrase, but you can still use the user password to log in, you might want to disable that. To change this we need to edit files in the /etc/ssh directory, which will require root privileges.
First we need to create a file override.conf in the /etc/ssh/sshd_config.d directory. Then, in the file, we write our override settings :
PermitRootLogin no
PasswordAuthentication no
AllowUsers user
Save this file after writing these three lines at the top. It disables root login and password authentication, so users cannot log in without an appropriate authentication method. The last line allows only users matching the specified account(s) to log in on the server through SSH (replace user with your user on the server).
Now we need to first check if our configuration is valid or not by running the sudo sshd -t command. If there is no output, then the config is valid. After a config change, it is required that we restart the SSH service:
sudo systemctl restart sshd
sudo systemctl status sshd
First, we restart the service and then check status to see if it started successfully. Now, if we exit back to our local machine and try to log in to the remote server as root, we'll be denied access. This is because we disabled root login as well in our override.conf file.
One more thing, you can securely copy files between devices using the scp (secure copy) command. scp uses sftp to copy files between hosts.
scp filename user@host:/path-to-destination
Troubleshooting tips:
- Make sure your firewall allows port 22 :
ufw allow 22
-
Ensure that the service is running :
sudo systemctl status sshd
sudo systemctl enable --now sshd